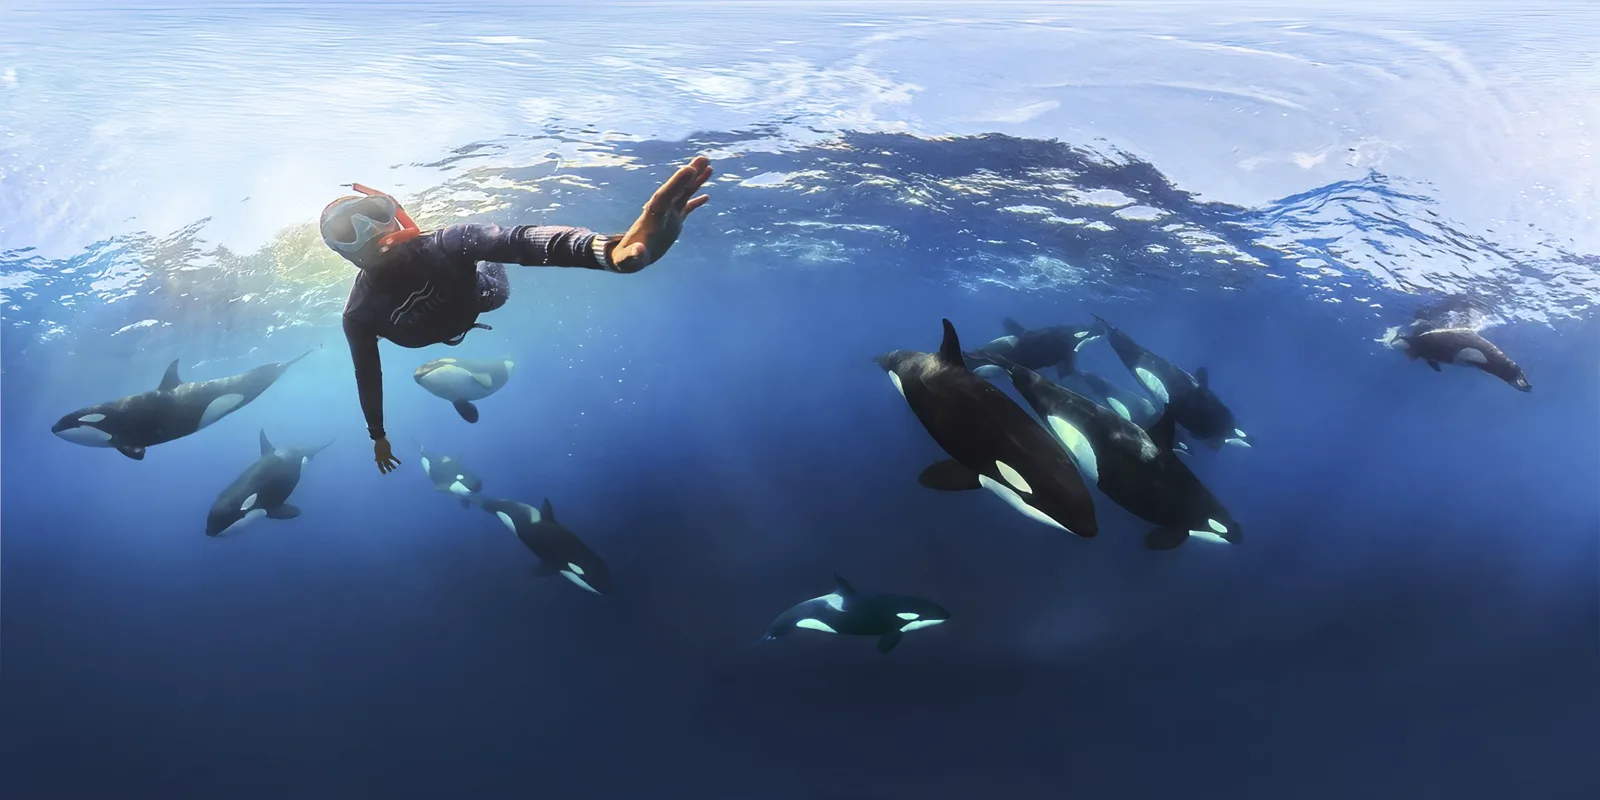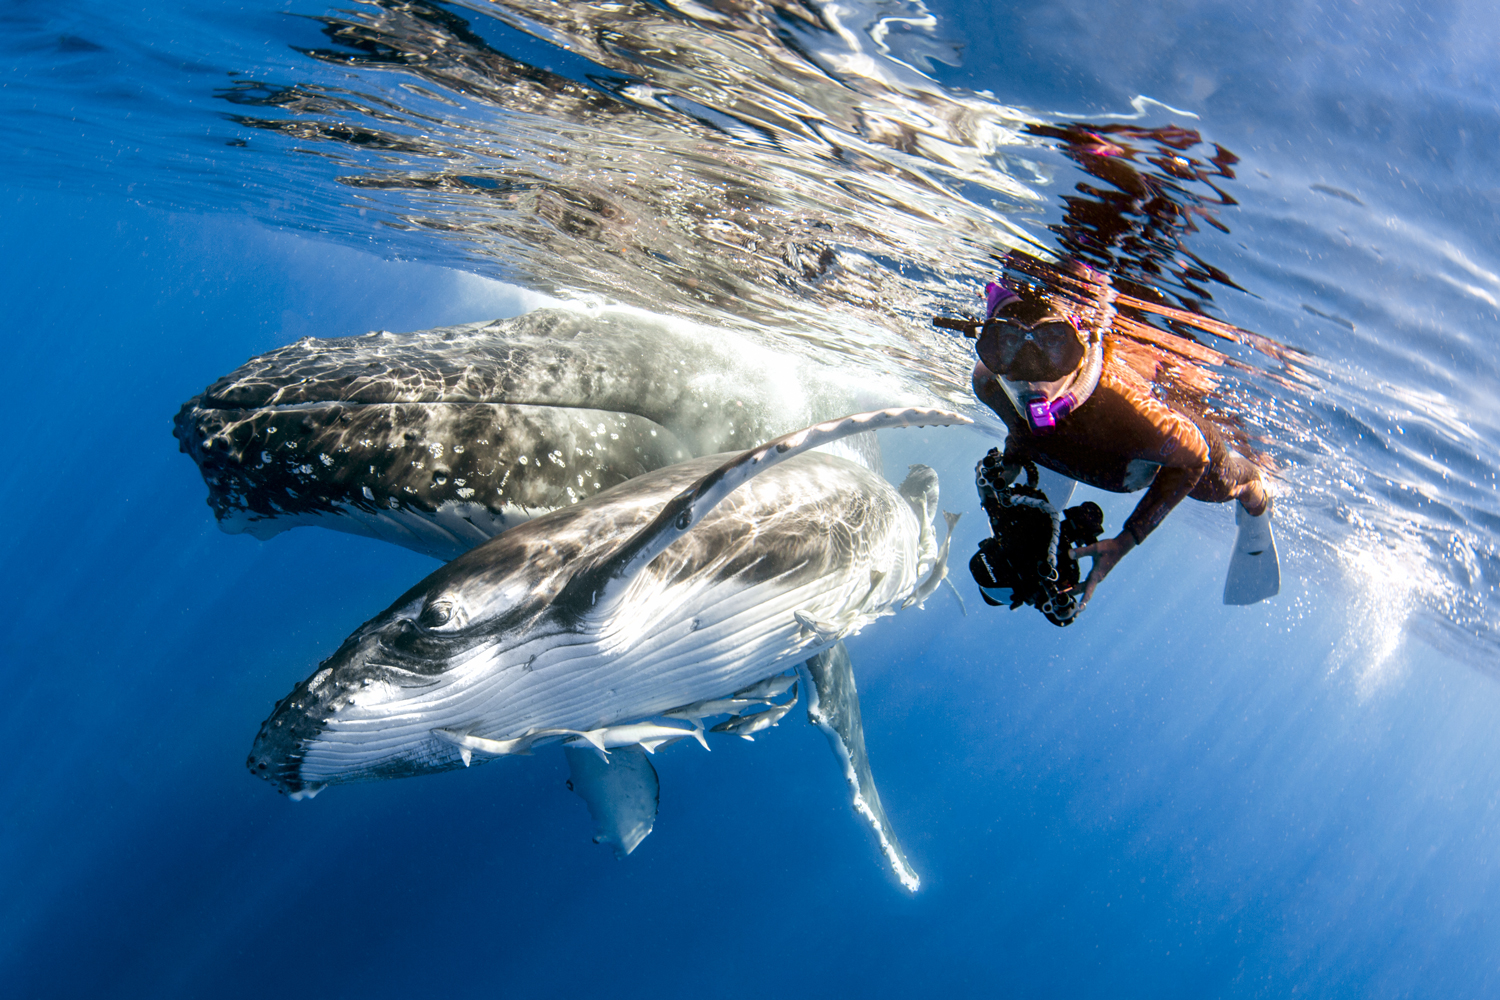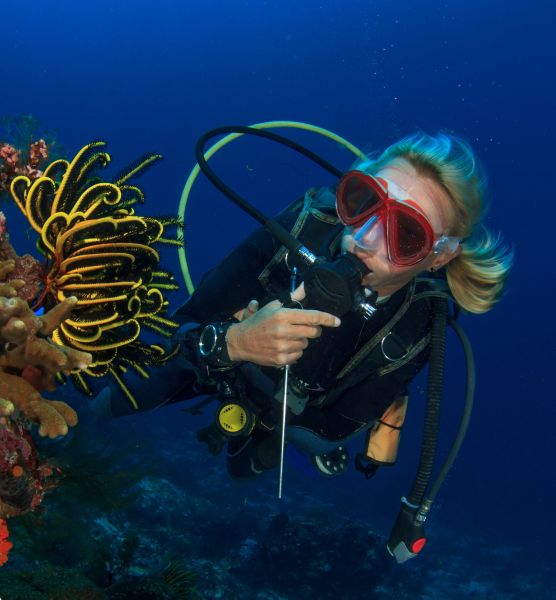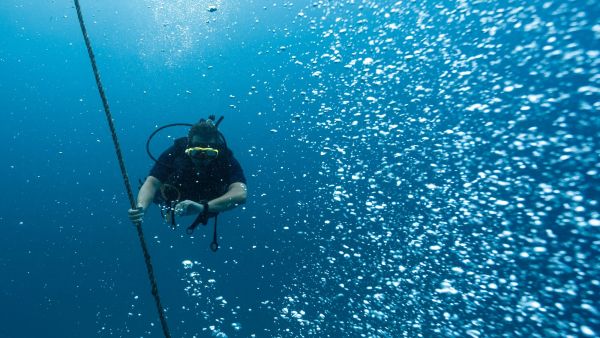

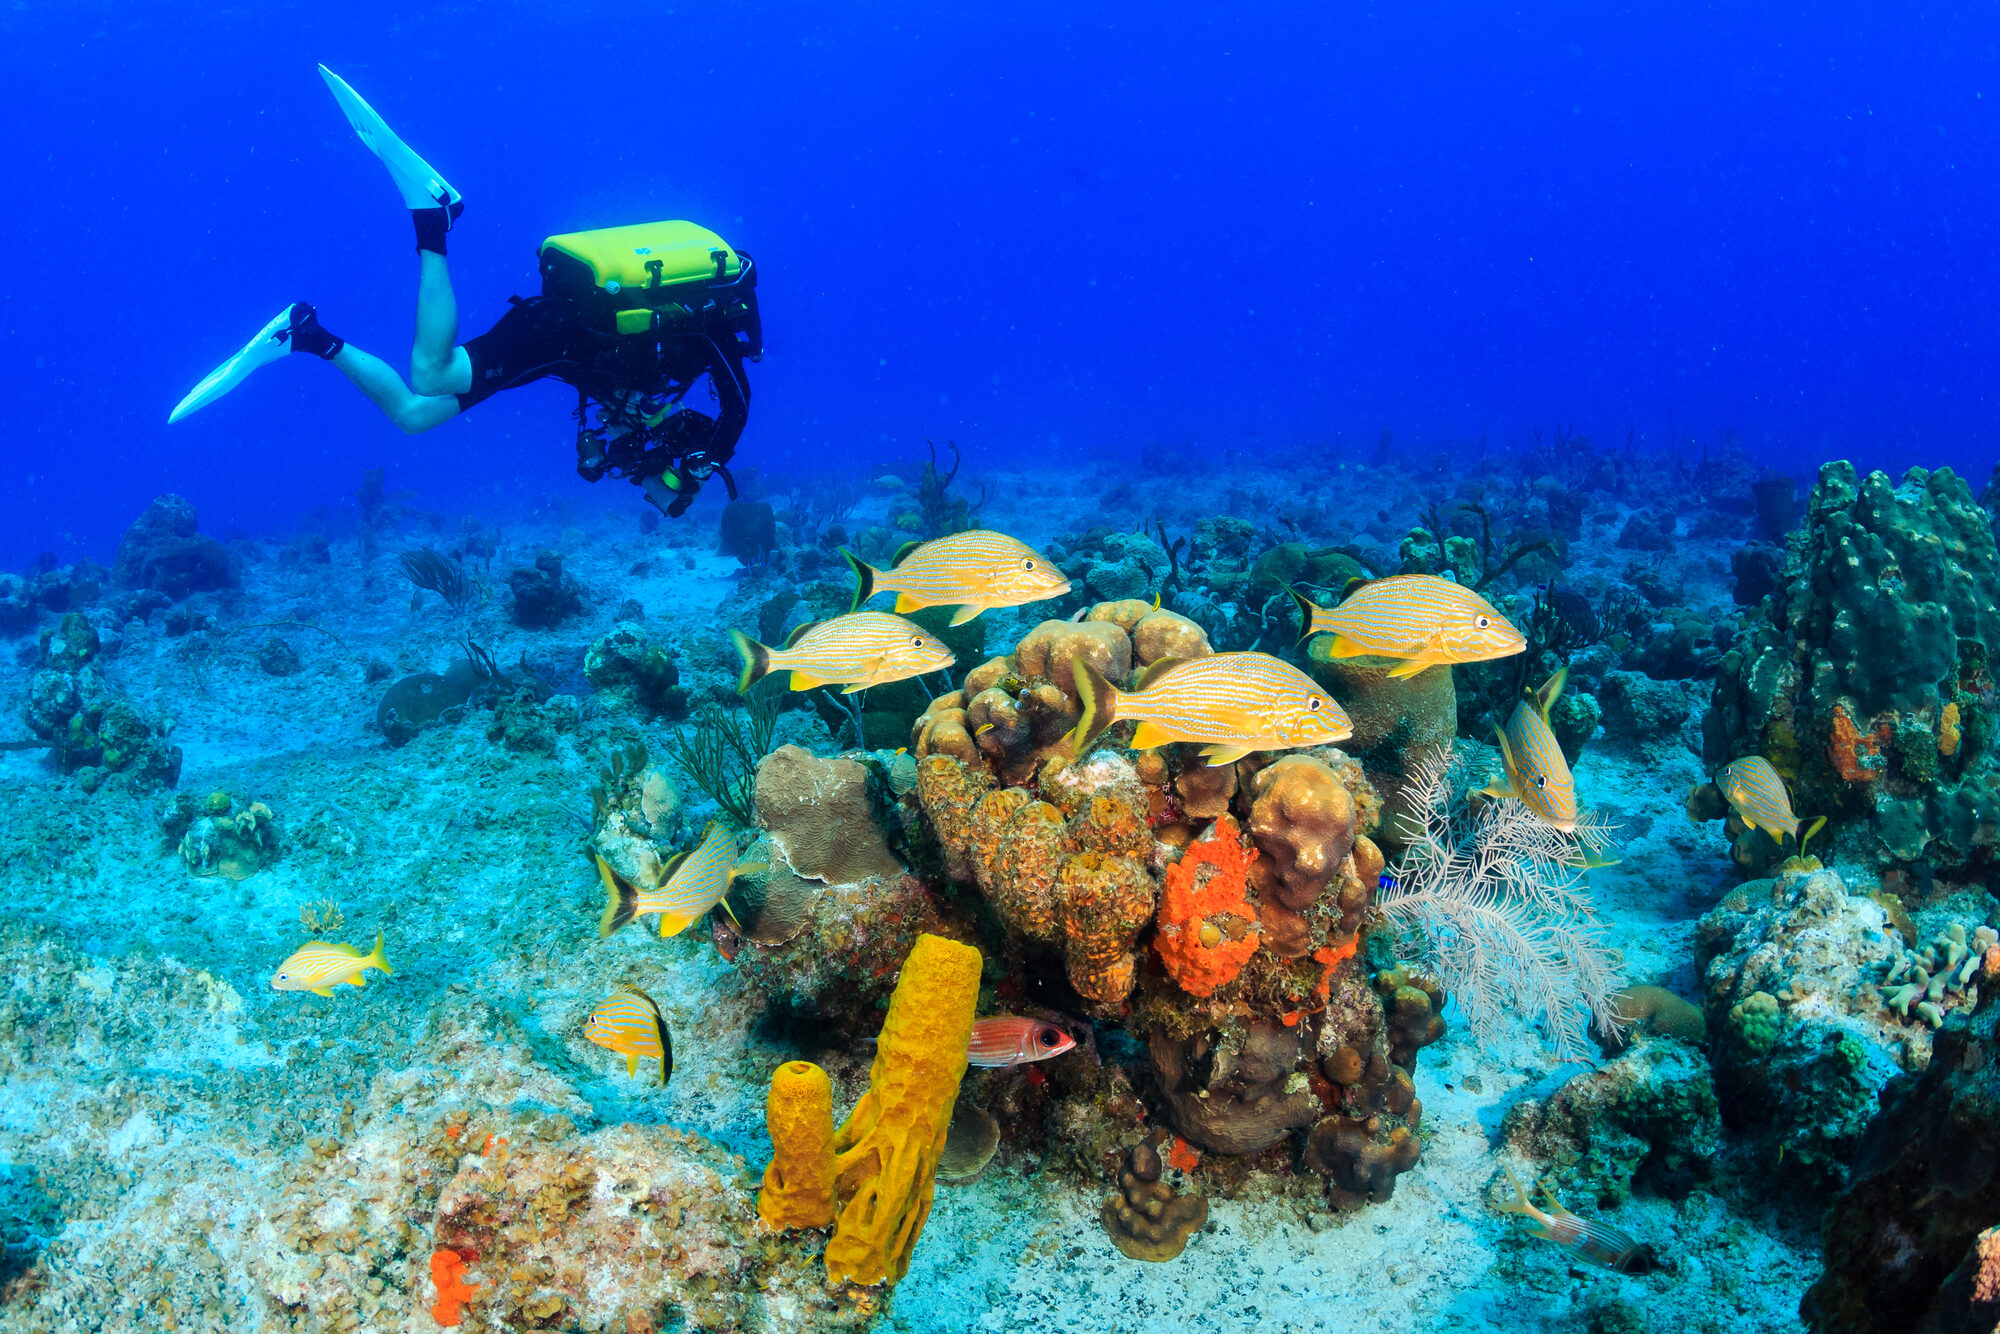
The photos that make non-divers stop scrolling are rarely close-ups of a tiny nudibranch. They are wide shots: a sea fan glowing in the foreground, a diver hovering against a blue so deep it looks painted. Wide-angle underwater photography is also where beginners lose the most frames to murky water, dull colour and flat composition. The good news is that most of the fixes are simple, and they come down to three habits: get closer than feels sensible, point the camera up, and use your strobes to light only the foreground.
- Best lens: a fisheye, or the widest lens you can get (at least 18mm full-frame equivalent), behind a dome port.
- Starting settings: manual mode, about f/8, ISO 100, 1/125 s, strobes on manual power.
- Distance: roughly 30 to 60 cm (1 to 2 ft) from your foreground subject.
- Angle: shoot upward for a richer blue background.
- Strobes: out to the sides, level with or just behind the dome, aimed outward, not at the subject.
Why wide-angle is different
Water absorbs light, and it does so colour by colour. Red goes first and blue lasts longest, which is why distant reef scenes look blue-green. NOAA Ocean Exploration notes that red light is effectively gone by around 100 m (330 ft), though in practice you lose most of it far shallower. A wide-angle lens makes this worse because it includes more water between you and the scene. That is the whole reason for the three habits above: less water between lens and subject, a clean blue background, and strobes to put colour back where you want it.
Choose your lens and dome port
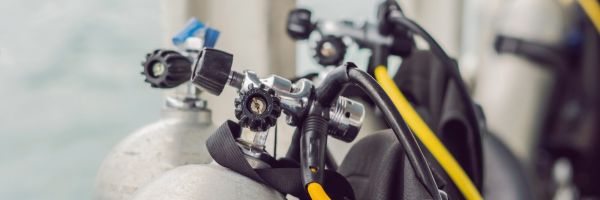
Underwater, a flat port makes everything look closer and the lens loses its field of view. A dome port fixes that by restoring the lens’s natural angle of view. Behind a dome, the camera does not focus on the real subject but on a “virtual image” that sits roughly 9 to 12 inches (23 to 30 cm) in front of the port, depending on dome size, according to Underwater Photography Guide. Autofocus still works, but pre-focusing on land will not carry over.
| Setup | Best for | Watch out for |
|---|---|---|
| Fisheye + small dome (about 6 in / 15 cm) | Close-focus wide-angle, sharks, divers, reef scenes; lighter and cheaper | Curved horizons; needs you to get very close |
| Rectilinear wide zoom + larger dome (8 to 10 in / 20 to 25 cm) | Straight lines on wrecks, over-under shots | Heavier, pricier; may need a diopter if the lens does not focus close |
| Compact camera + wet wide-angle lens | Beginners on a budget | Smaller sensor; still needs strobes or a light for colour |
If you are starting from scratch, a fisheye is the most forgiving choice, since it focuses close and does not usually need a diopter. Lenses that cannot focus within about 12 inches of the port often need a +2 to +4 diopter to reach the virtual image, and the trade-off is that you can no longer focus to infinity.
Starting settings you can trust
Shoot in manual so the background and foreground can be controlled separately. A solid starting point is f/8, ISO 100 and 1/125 s. From there:
- Set the background first. Point the camera at open water and adjust shutter speed until the blue looks right. Faster makes it darker, slower makes it brighter.
- Then set the foreground. Strobe light is so brief that shutter speed barely changes it; aperture and strobe power do. Adjust those to expose the subject.
- Raise ISO in poor conditions. In low visibility or with distant subjects, move to ISO 200 or 400, or open toward f/5.6.
Be ready to correct as you turn. Facing the sun versus away from it, or a cloud crossing it, can swing the background exposure by one to two stops, so check the screen every few frames.
Get close, then get closer
The single biggest beginner mistake is shooting from too far away. Light from a strobe falls off quickly, and every extra metre of water adds blue haze and backscatter. Aim to be about 1 to 2 feet (30 to 60 cm) from a prominent foreground subject such as a sea fan, an anemone or a coral head, with a bigger background element behind it: a diver, a school of fish, a wreck or the sun.
This technique is called close-focus wide-angle (CFWA). Because the foreground may be only inches from the dome, stop down to f/11 to f/14 for enough depth of field, keep shutter around 1/125 to 1/200 s, and focus just beyond the foreground subject so both stay sharp. Place the subject off-centre, and try shooting about half your frames in portrait orientation to stack foreground, midground and background.

Shoot upward
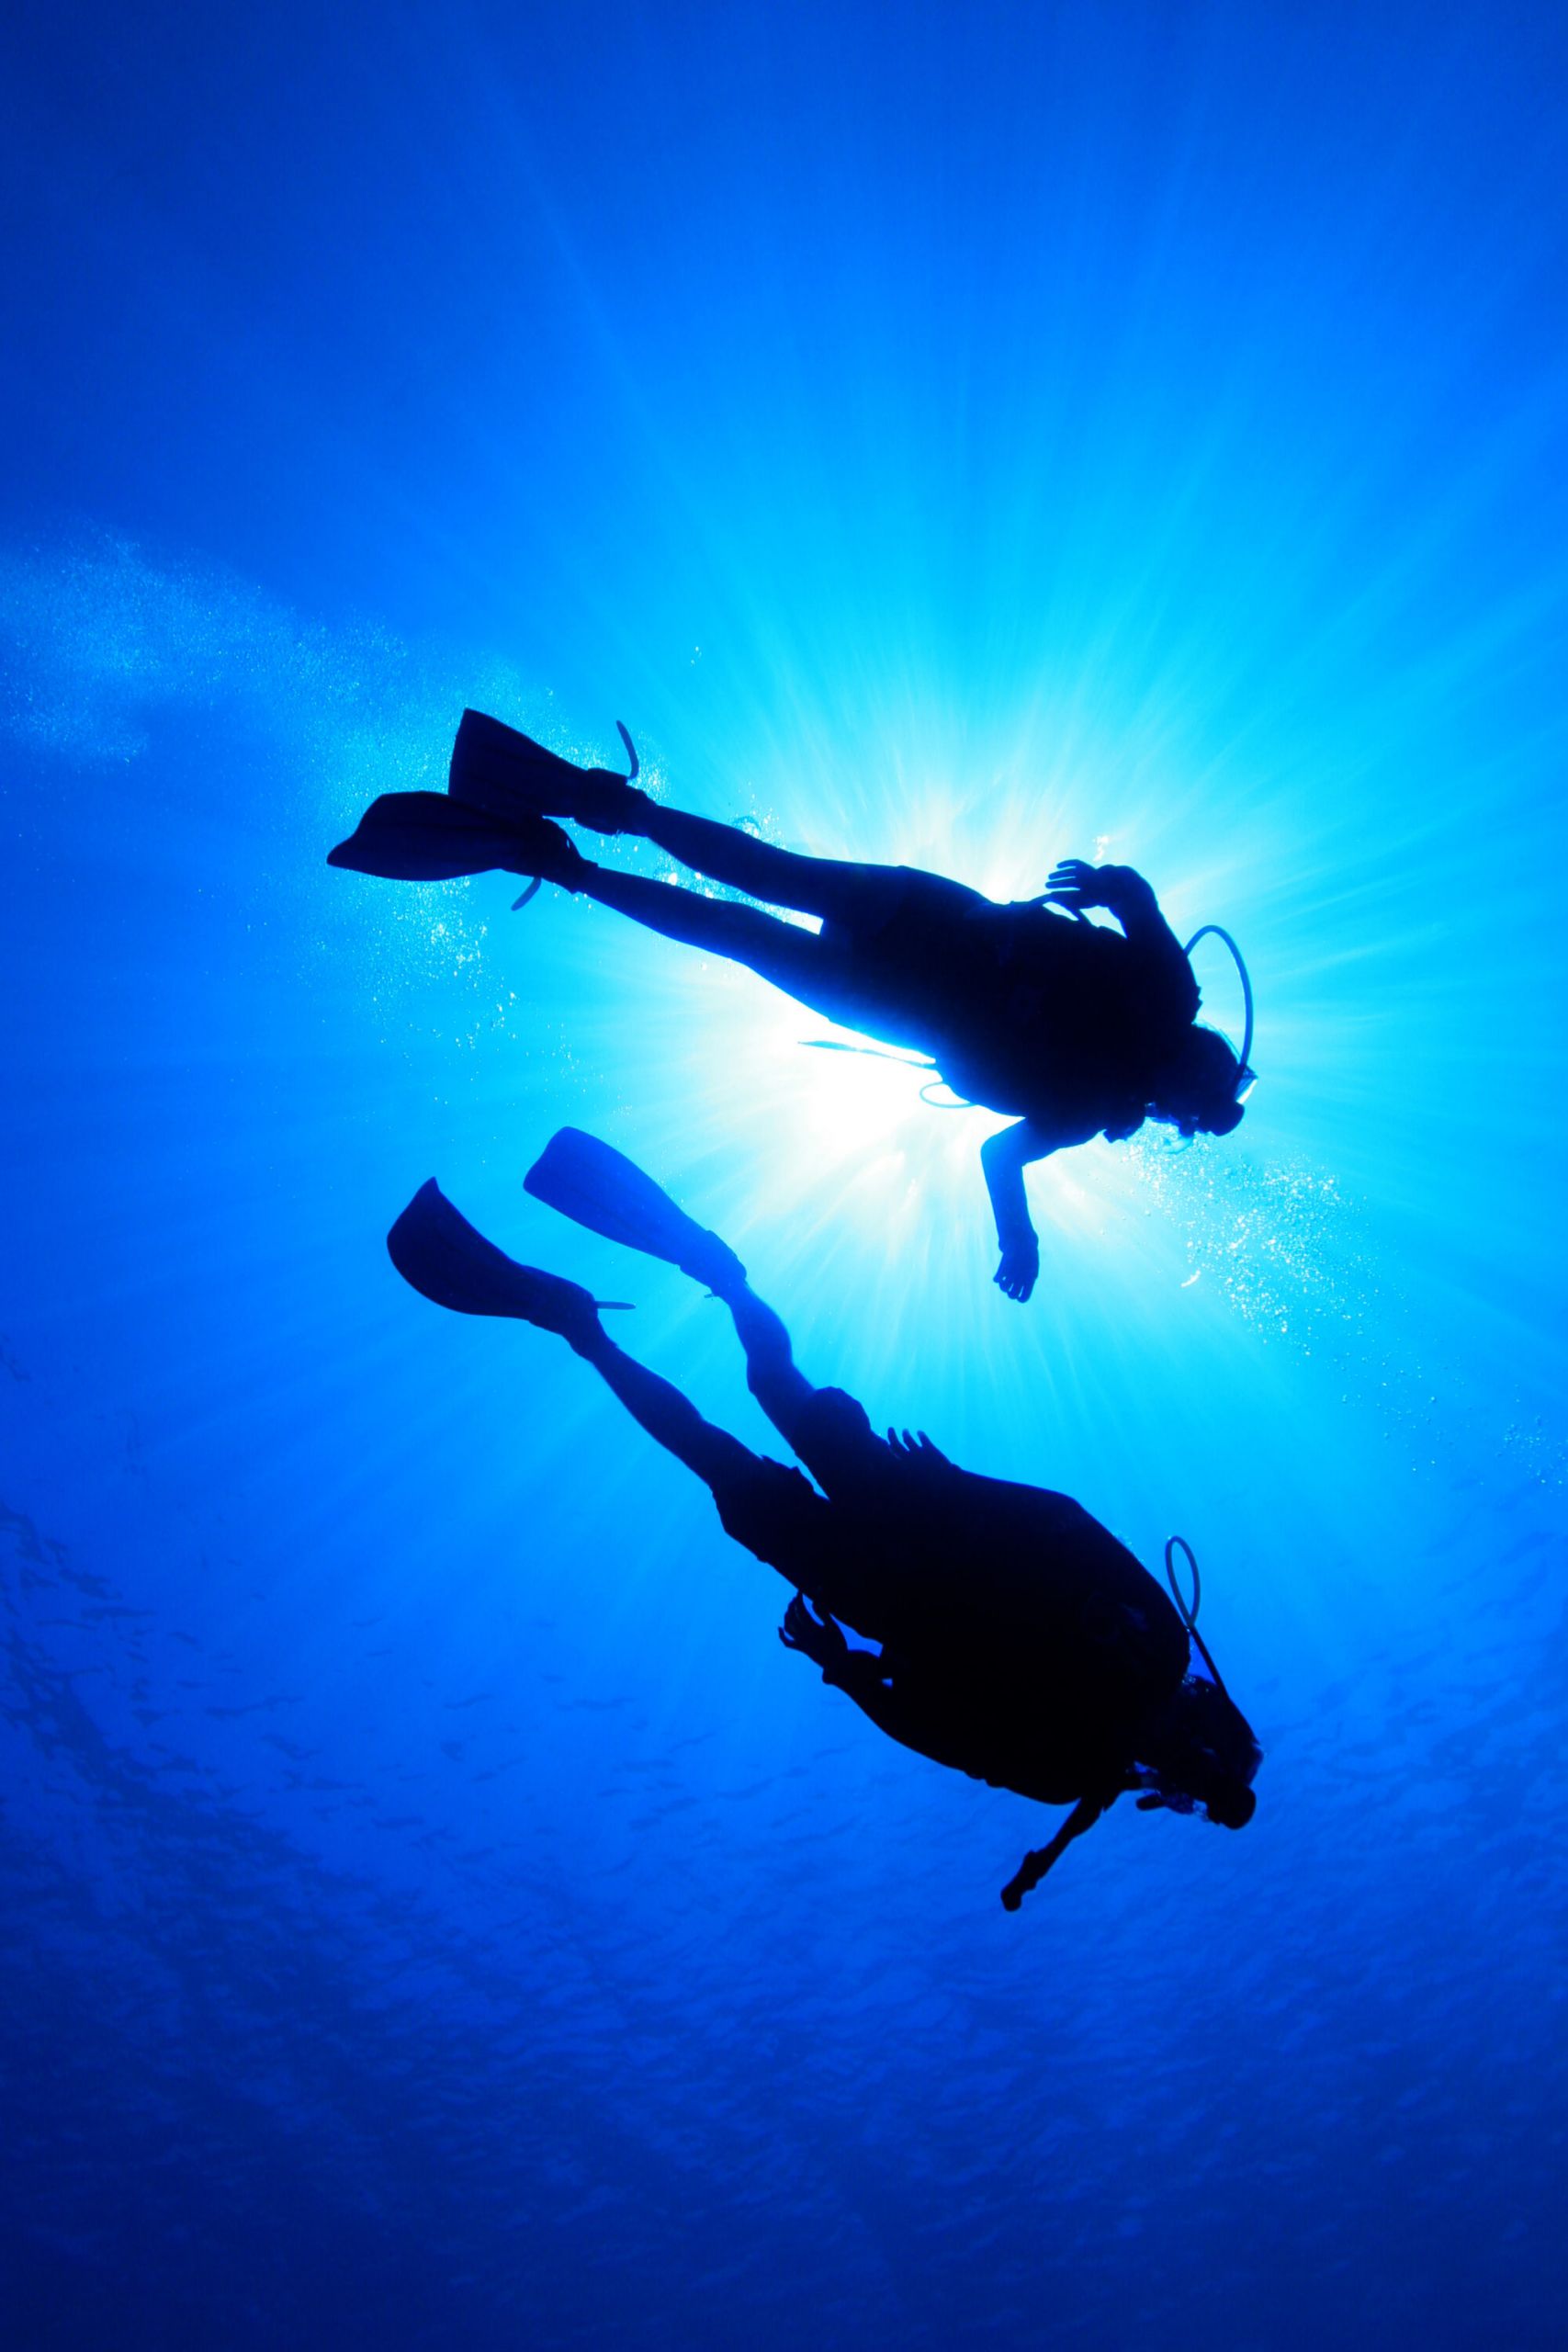
Pointing the camera downward at the reef gives drab, low-contrast pictures, because you are looking at dark water and a busy seabed. Tilt up and the water behind your subject becomes a rich gradient of blue, and the sun can become a feature. For a sunburst, get low on the subject, angle the camera well back and stop down so the sun does not blow out. Whatever your angle, choose a specific subject instead of a general scene.

Place your strobes
Strobes turn a blue picture into a colourful one, and where you put them decides how much backscatter you get. A reliable routine:
- Keep them back and wide. Put the front of each strobe level with, or slightly behind, the housing handles, angled out by roughly 10 degrees in dirty water.
- Standard positions: 9 and 3 o’clock for most scenes. If too much seabed below the subject is lit, raise them toward 10 and 2.
- Match distance: the beams should meet just in front of the subject. If they overlap well before it, the particles in between light up.
- Close subjects: pull the strobes in and angle them slightly inward. Far subjects: push them wider on longer arms.
- Uneven reef: lower the power of the strobe nearer the reef rather than moving it forward.
Pointing strobes straight at the subject is the classic cause of backscatter, and the more particles in the water the more you should aim outward.
Common mistakes and quick fixes
| Problem | Likely cause | Fix |
|---|---|---|
| White specks across the frame | Strobes aimed forward, power too high | Angle strobes outward, lower power, get closer |
| Dark centre, bright edges | Beams not meeting at the subject | Bring strobes inward for closer subjects |
| Hot spots in the top corners | Strobes too far forward | Pull them back level with the handles |
| Dull, flat blue | Shooting down, subject too far | Shoot up and move in |
| Soft or blurry frames | Focus set on land, or hovering unsteadily | Focus underwater and fix your buoyancy first |
Buoyancy is part of your kit
A tuned strobe setup is wasted if you are bumping the reef or drifting up and down. Photographers who hold still, hover and approach slowly get more natural shots and kick up less silt. If your trim needs work, start with our ten tips for better buoyancy control. New to the camera side? Our five underwater photo tips for beginners covers the basics, and the guest piece on revealing the sea’s lost colours with a dive light shows how artificial light restores colour. If you are weighing up strobes, see our underwater strobe testing and comparison.
Frequently asked questions
Do I need a fisheye lens to start? No, but it is the most forgiving option. A fisheye focuses close, rarely needs a diopter and works well behind a small dome. A compact camera with a wet wide-angle lens is a good low-cost way to learn.
Can I shoot wide-angle without strobes? Yes, in shallow, sunlit water, and it works best as a silhouette or blue-water shot. For rich colour in the foreground, you will want at least one strobe or a bright video light.
Why are my photos so blue? Water filters red and other long wavelengths first. Get closer, add artificial light and set a custom white balance if shooting without strobes.
Can I focus on land before I dive? No. Behind a dome the lens focuses on a virtual image roughly 9 to 12 inches in front of the port, so pre-focusing on land often gives blurry results.
Sources: Underwater Photography Guide: Wide-Angle Photography; Close Focus Wide Angle; Dome Ports and Wide-Angle Optics; X-Ray Mag: Wide-Angle Lighting, Six Simple Steps; Dive Photo Guide: Lighting Wide-Angle Underwater Photography; NOAA Ocean Exploration: Why red disappears.