It might seem a bit cliché to say that light in underwater photography is everything, but that statement couldn’t be more accurate. Here we’ll break down the different types of light and explain them in simple terms. We’ll also lay out some ideas for how to use and understand light and lighting to improve your macro and wide-angle images underwater. Remembering our three main terms from the last installment, we’ll examine how using the proper f-stop, shutter speed and ISO can improve your shots right away.
Before moving on, let’s define some common terms when it comes to lighting. “Ambient light” is already present in a scene and it refers to natural light. Photographers create “lighting” with a torch light or strobe flash. We also use the term when evaluating the light in an image. To understand the light better, let’s concentrate on wide-angle images first and include the sunlight.
Using light for wide-angle images
Most W/A images balance ambient light in the background while using a strobe flash in the foreground to provide the color. Balancing and blending the two types of light creates a true sense of what it looks like underwater.
Open apertures, slower ISO and slower shutter speeds allow light to come into the frame and create more natural depth. Even when water clarity is compromised, its color can sometimes illustrate the approximate location of the image.
Use shutter speed for the background and f-stop for color in the foreground. Either keep your f-stop open and allow the two lights to blend together, or stop down to create a greater contrast in the background or when shooting up toward the sun.
Light is very fickle and always changing underwater. Learning how to look at it and the surrounding water can become honed skills, which will help you quickly evaluate your strobe powers and settings based on the environment.
Correcting for color loss
As sunlight passes vertically through the water, red disappears very quickly. This leaves us with dulled color, as well as diminishing vibrancy and contrast. Relying on post-processing to correct the color loss isn’t the best practice in this case either. When using the saturation sliders, our reef scenes quickly begin to look like a pack of Skittles and the blues become purple. This is hugely evident when printing.
In some cases, red filters work to add back the loss of the red in the shallows. You can shoot a natural image with a red filter when the sunlight is rich. This is a great option for shooting sharks, shallow reef-tops or even whale sharks, particularly in turbid water.
When strobe or torch light pass through water horizontally, they also lose color, filtered out from the water AND diluted from the sunlight. Nearness to your subject is key in both wide angle and macro for this reason, so get close.
 Reef scene
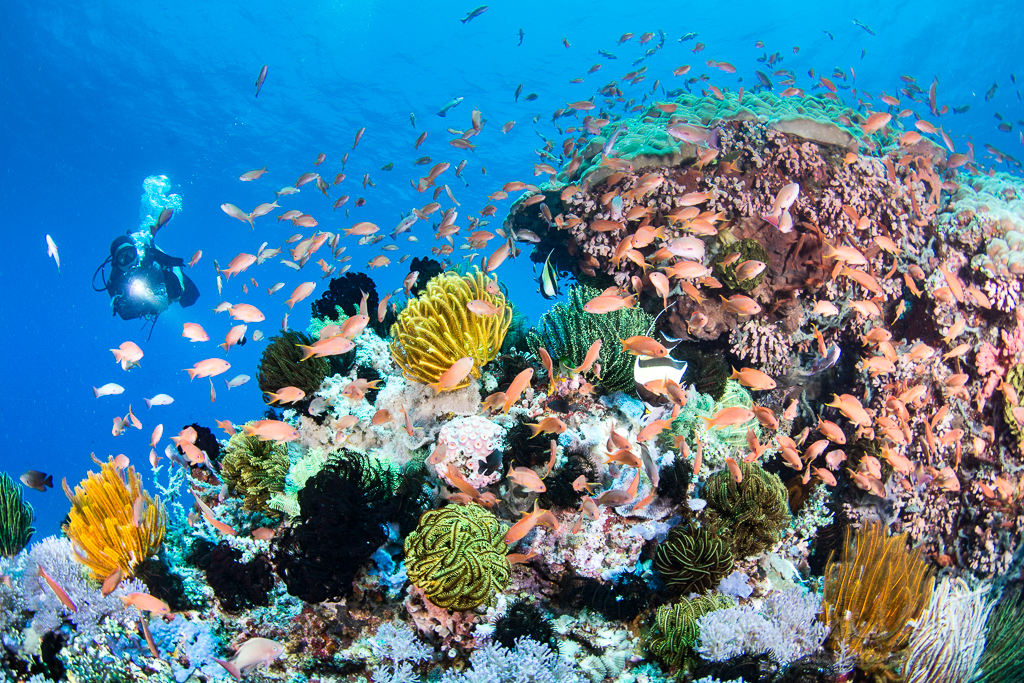
Controlling the background light and blending it with the foreground color gives a more natural look to a reef scene. We quickly lose contrast in the foreground, so remember to get close for better strobe saturation. With an abundance of pinks and reds, you may need to de-saturate your image to make it more realistic.
A smack of jellyfish
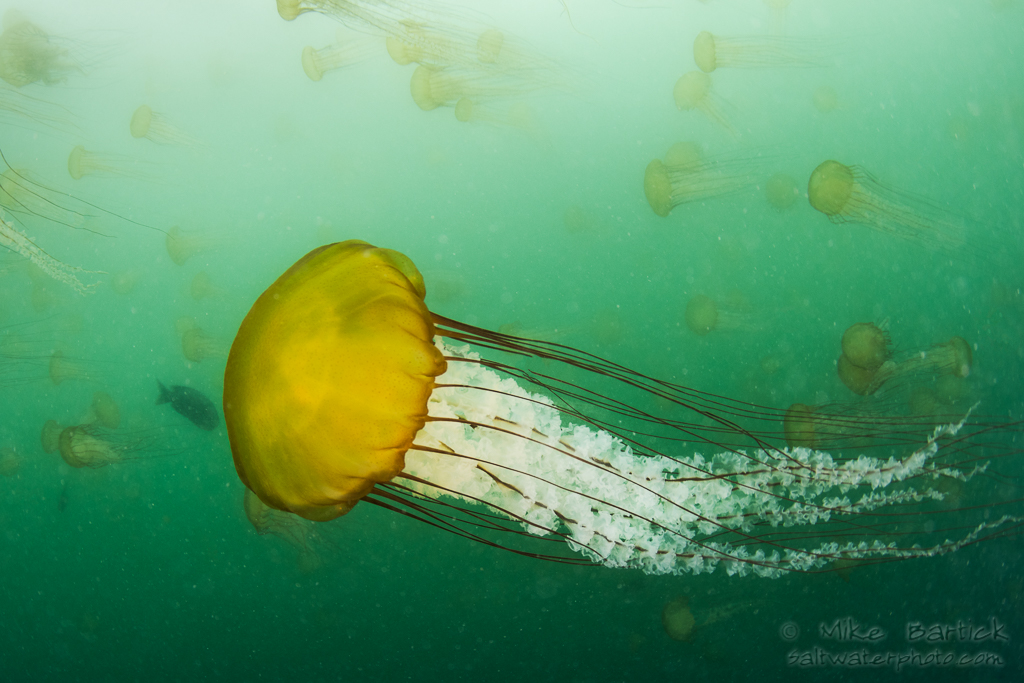
These jellyfish inhabit the green water of Monterey Bay, California. The green water is important to this image as lets the viewer know right away that it was not shot in a tropical environment. Concentrate on a single subject and light it properly to replicate a scene like this — it’s far preferable to light one subject well than many poorly.
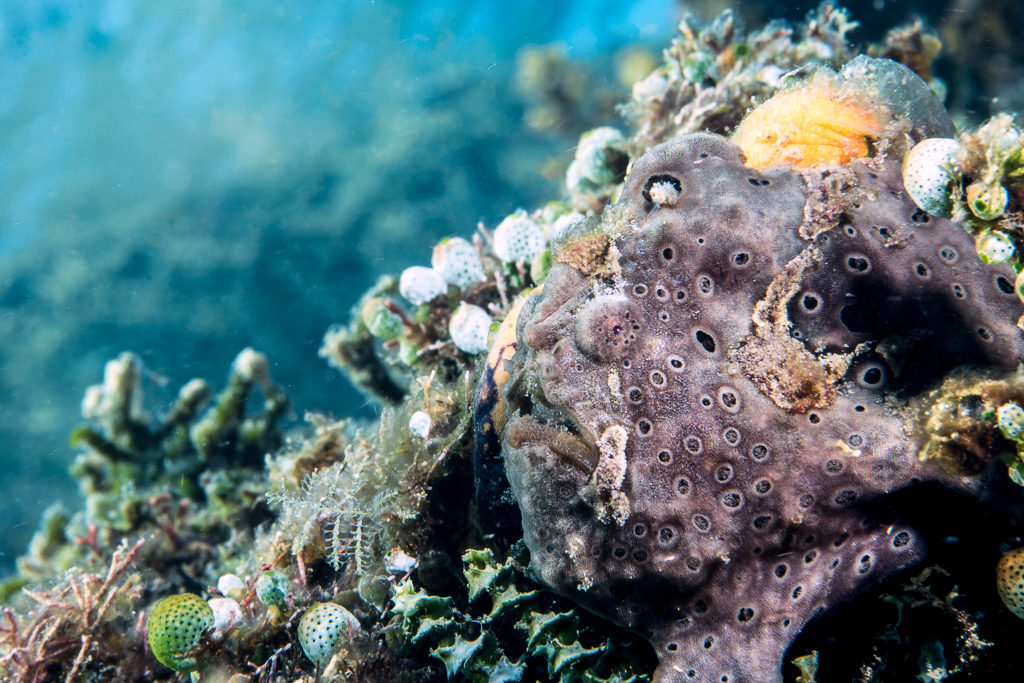
Wide-angle frogfish
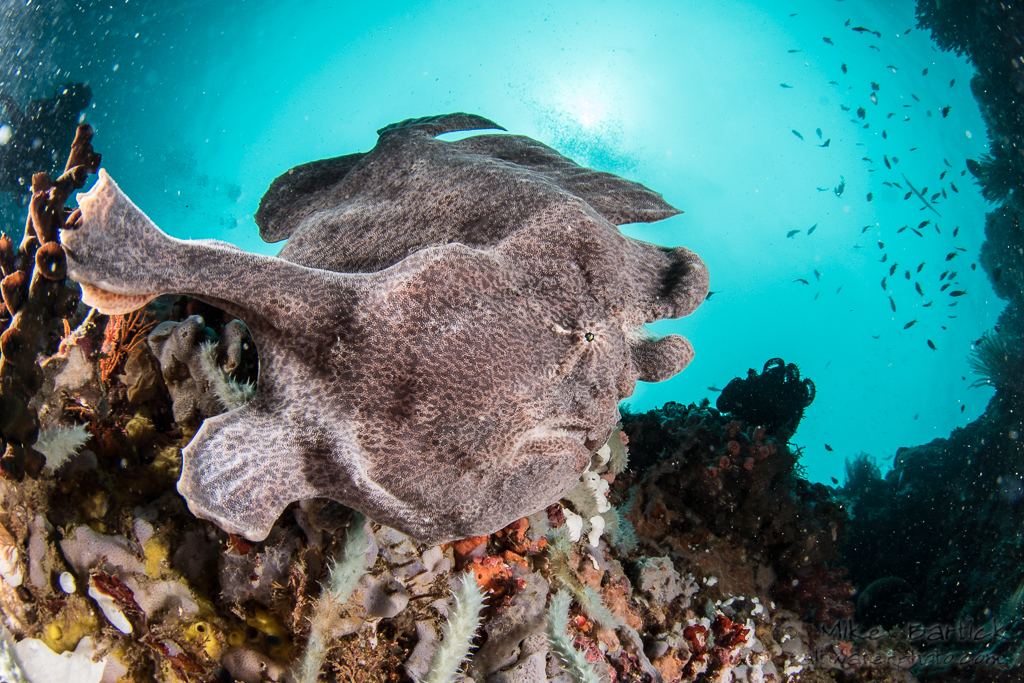
Getting a close-focus image with a wider angle of view is also fun to do with a wide-angle lens. Lighting can be tricky so watch for flaring and backscatter in the corners. My strobes were a bit too close to the dome ports; by pulling them back just slightly I corrected the problem.
Light rays
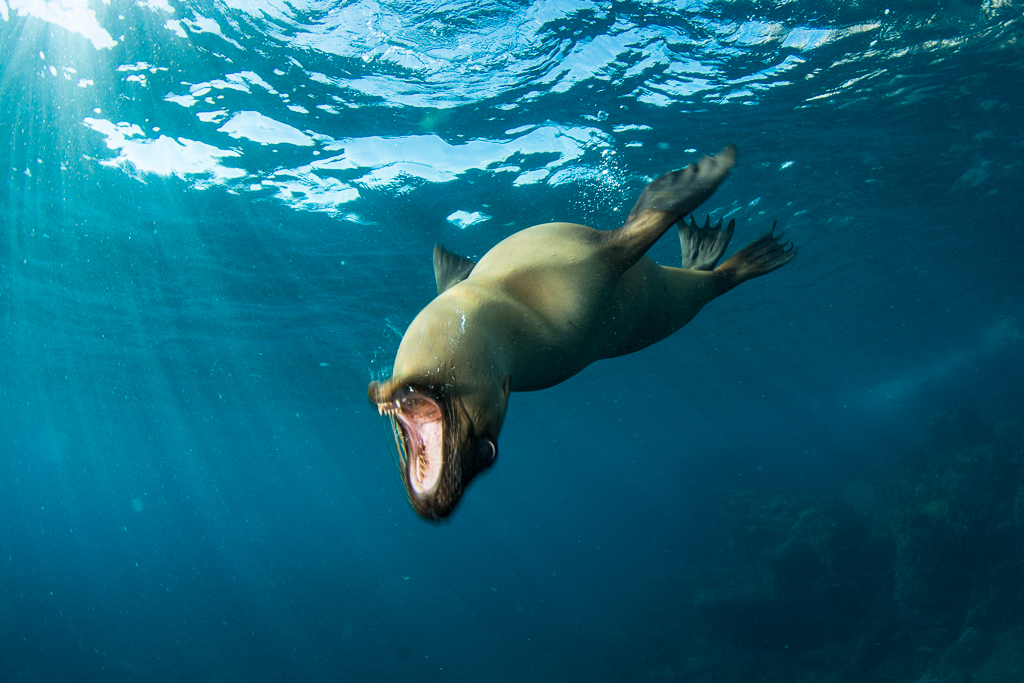
Pick up natural light rays in the shallow water with the right angle toward the surface. It’s great to capture light beams in the shallow water but there must be light beams to shoot the light beams. It’s impossible to capture something that doesn’t exist.
Using light for macro images
For macro images, I always encourage eliminating the ambient light altogether with two quick “set it and forget it” settings: low ISO and fast shutter speed.
Producing the richest colors for macro photography is a function of strobe and f-stop rather than shutter speed. Strobe flash produces the most colorful portraits of subjects. Using our three main tools once again, we set our ISO to the lowest setting and shutter speed to the fastest synch speed. This creates the barrier needed to eliminate ambient light altogether, and allows our strobes to better saturate our intended subject.
Many of the high-value targets for macro photography live on the substrate or match their habitat so closely that it’s often difficult to make them stand out against their background. This is further exacerbated by bright sunlight in the shallow areas. Instead of looking at the sunlight to evaluate the water like we would for wide-angle images, we should look at the sand instead. This helps us evaluate reflectivity for overexposures and offers ways to create a shadow for more dimension.
Nearness to your subject and filling the frame are both great techniques as well. You’ll not only create rich strobe saturation on your subject but also eliminate the funky green/blue coloration from the background.
Orientation to your subject is important when considering your composition in macro as well as wide-angle images. If a subject is against a wall, try not to shoot straight at it. Move next to the wall, come in from the side or even from below.
If your subject appears two-dimensional, you’ll only need a single strobe. This creates a nice, dark background when the strobe is angled down. You’ll only need dual strobes in macro shots if you’re taking the head-on approach or considering the background for color.
Warty frogfish
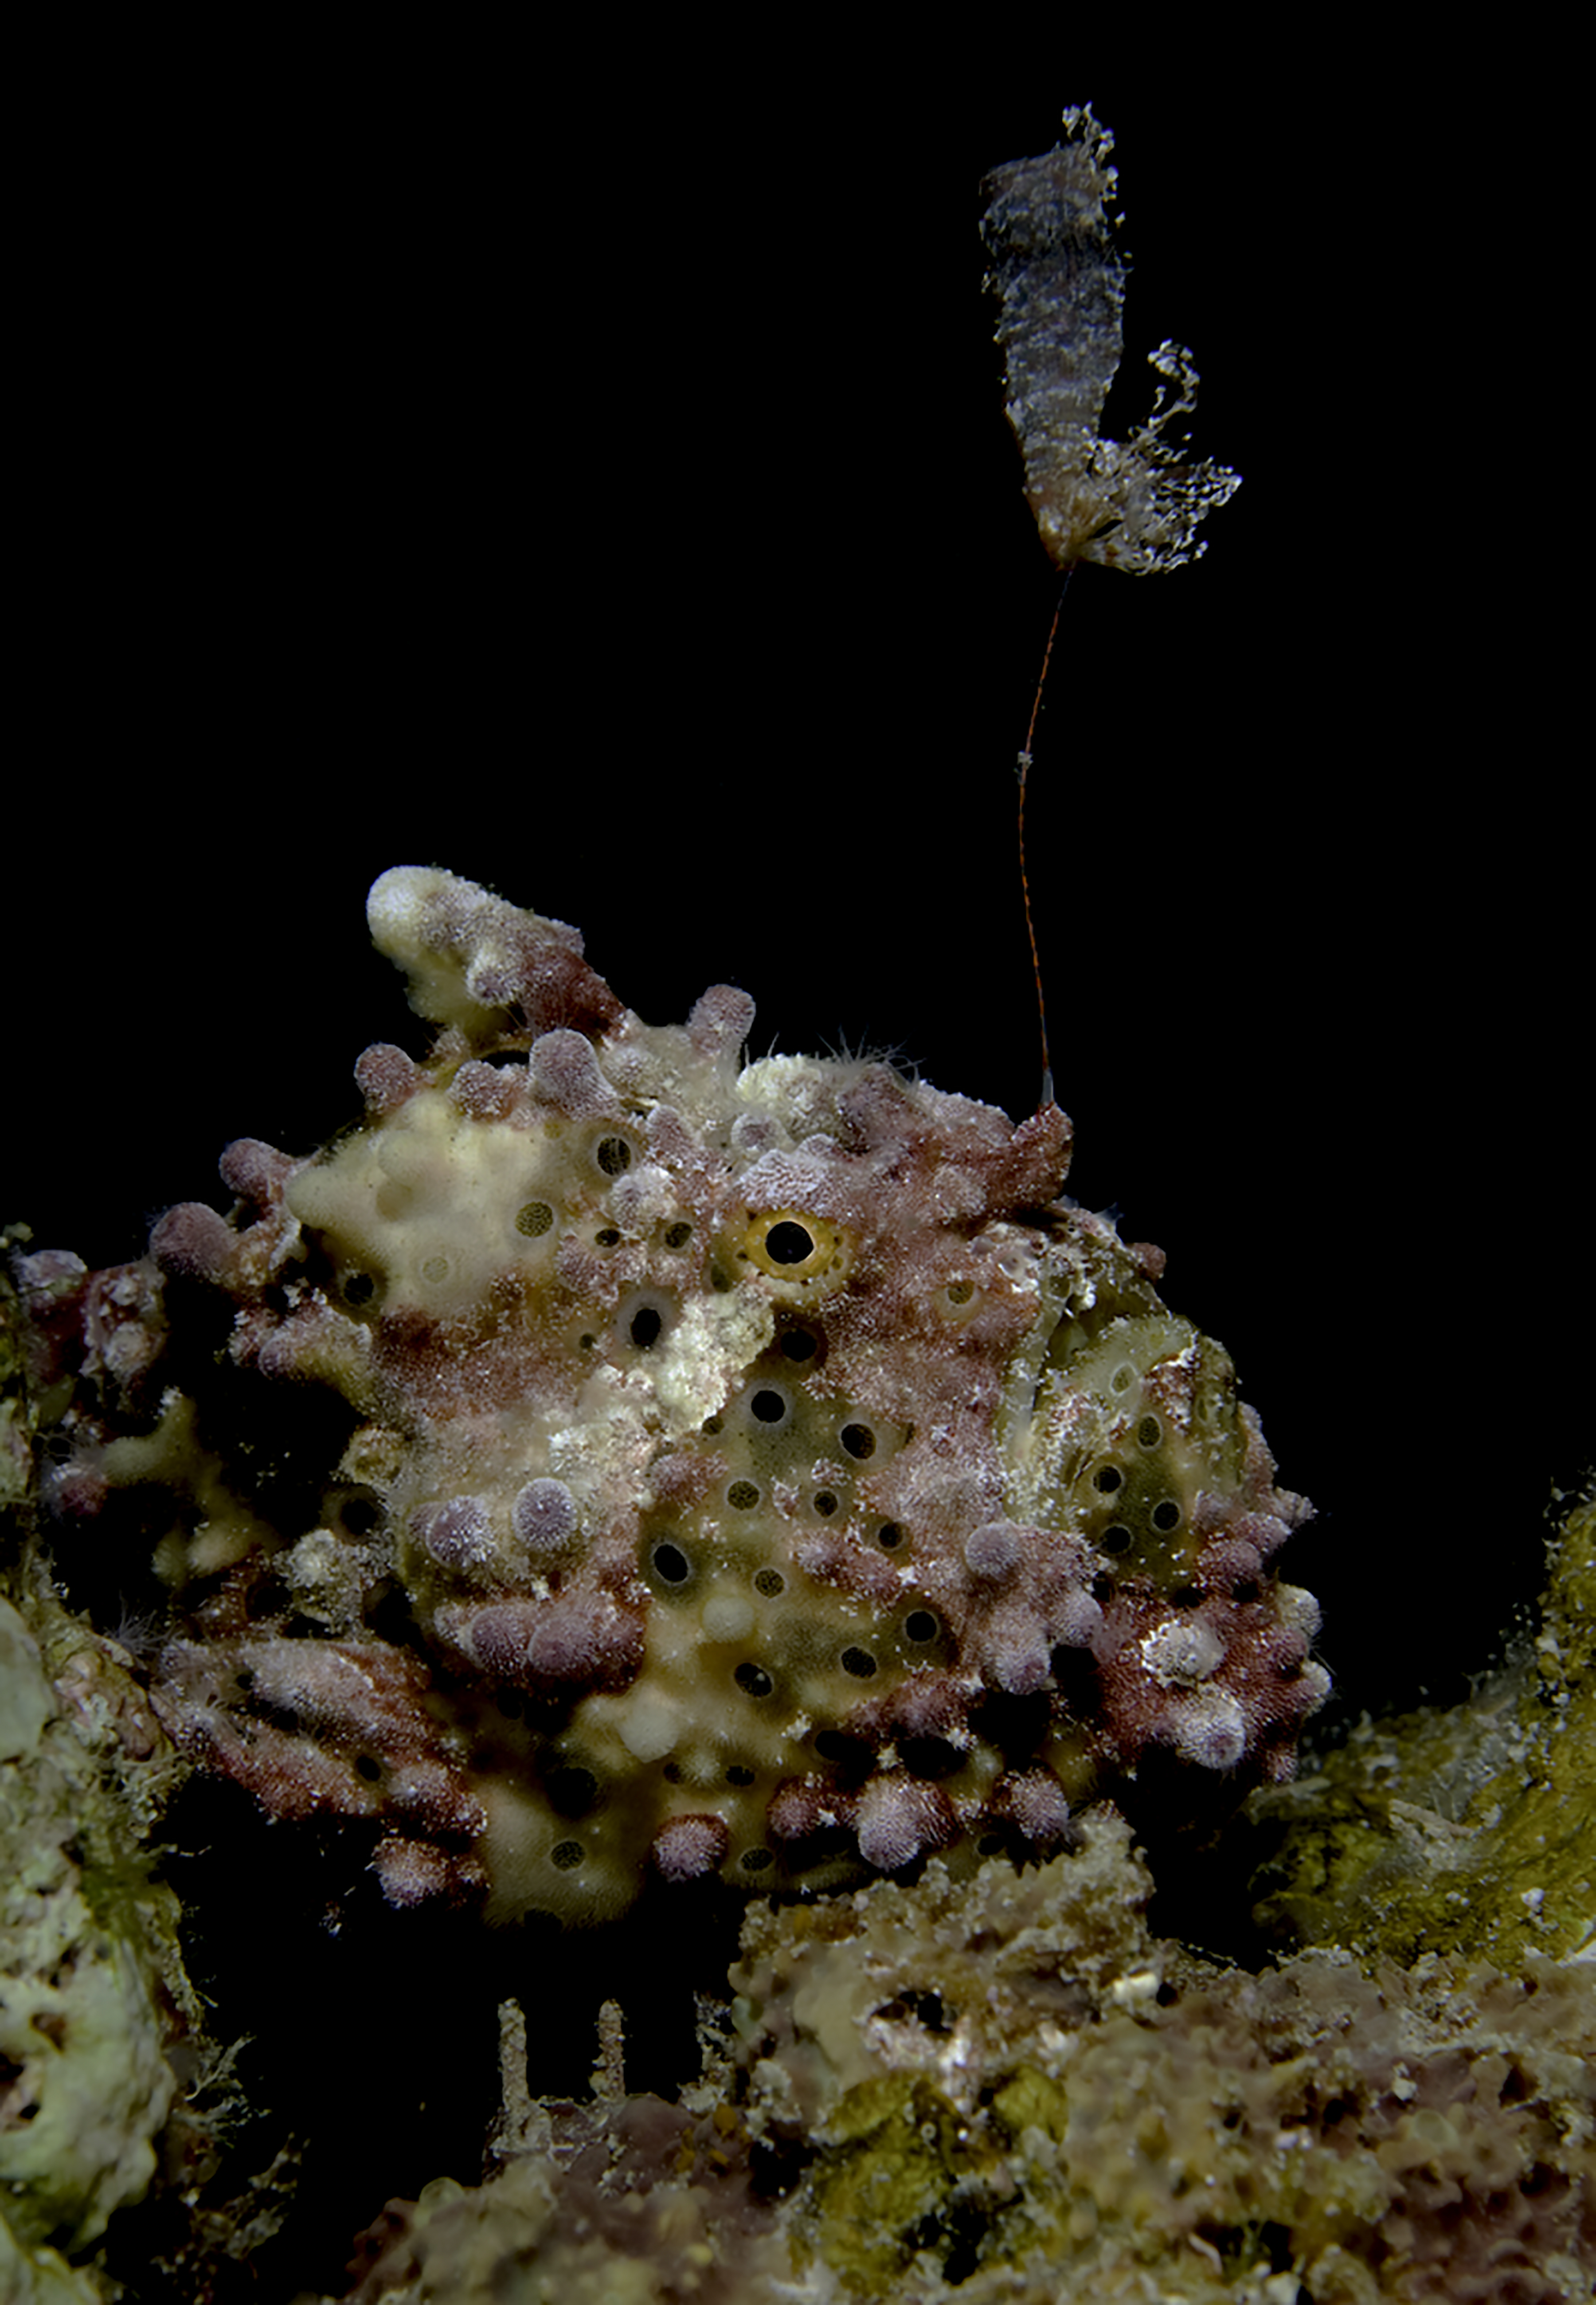
This warty frogfish is casting its lure, hunting for its next meal. I shot this subject in a linear fashion and used only one strobe. This prevented over-flashing in the background and naturally increased contrast while decreasing the chances for backscatter. When shooting behavior, it’s important to dial in your technical settings. Make sure your technical settings are dialed in because oftentimes won’t get a second chance. Shutter speed and ISO eliminated the ambient light in the background leaving me to concentrate on just my strobe angle/power and f-stop.
Slow shutter speed
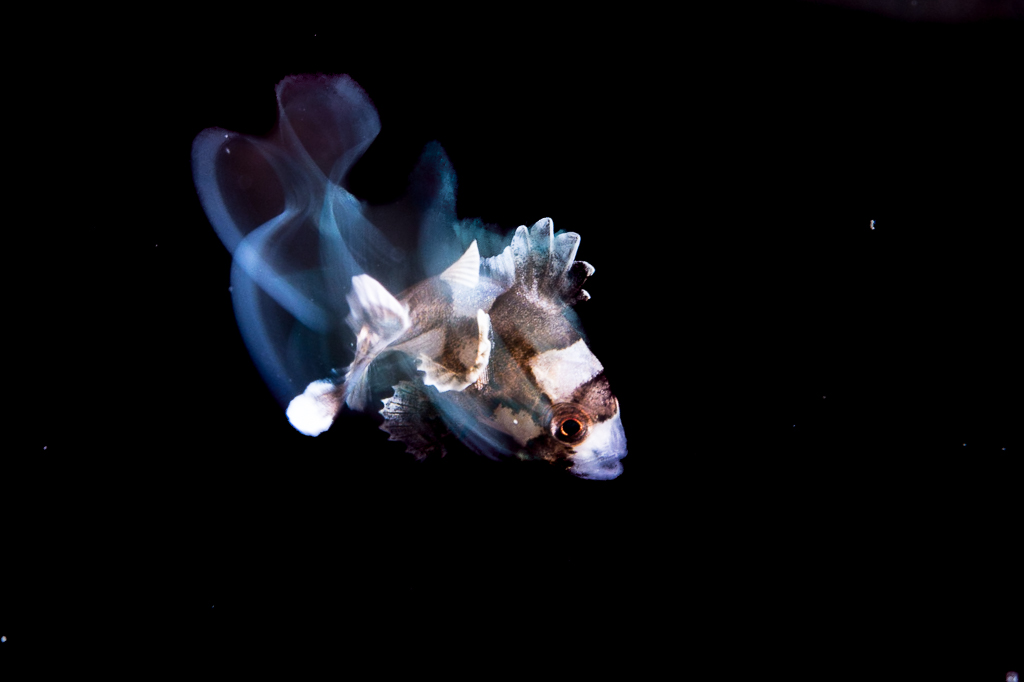
You can capture the moment of movement intentionally in macro images by slowing the shutter speed. The frame can still be dark if you study the substrate and try to shoot the subject when it passes a deeper crack or cranny. Two strobes, both angled inward to rake the light across the subject, and a slower shutter speed freeze the subject’s eye and create the trailing tail movements. Strobe flash will freeze the action if it isn’t diluted by the sun, again made possible by low ISO, but this time with a slightly elevated f-stop.
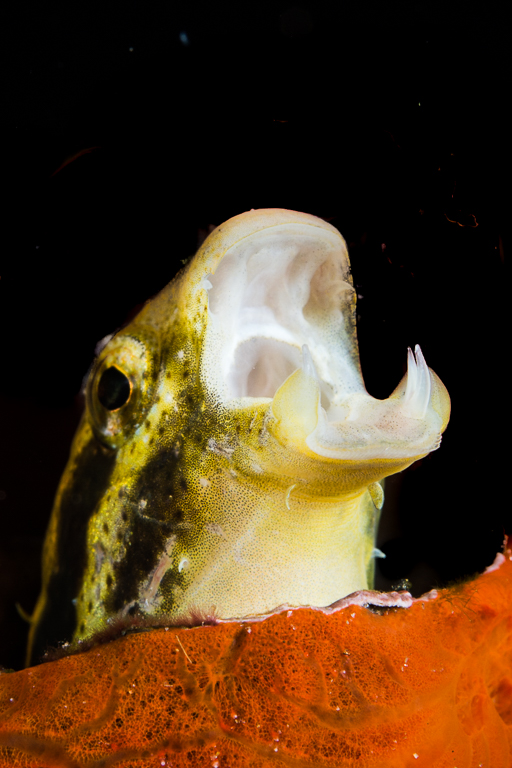
Blue background
Going a little extreme on this shot, I wanted to illustrate that you can include blue in a macro image. It requires a balance between shutter speed and f-stop, just as with wide-angle images. This helps create contrast with black or dark subjects or with nudibranchs that have a dark body or rhinophores.
Peak of the action
The ultimate contrast results from strong strobe saturation, higher f-stops, low ISO and fast shutter speed. This combination will place a high demand on your strobes but will ultimately pay off. Color, contrast and action are a winning combination for any behavior-focused image, and understanding how to control the light will allow you to shoot stronger images in any environment.
Using your strobes properly
Many shooters have dual strobes without realizing that always using both on the same power is perhaps creating flat frames. Thinking of the strobes separately is a key to begin developing an image that has more dimension through proper use of light and shadows. Shooting with your strobes on manual is the best way to learn.
Strobe angle, strobe power and proximity to your subject will be your greatest tools in creating well-lit images. Knowing how to read the ambient light and how to adjust for it will soon become second nature. Practice is everything, so keep at it and enjoy the learning process.