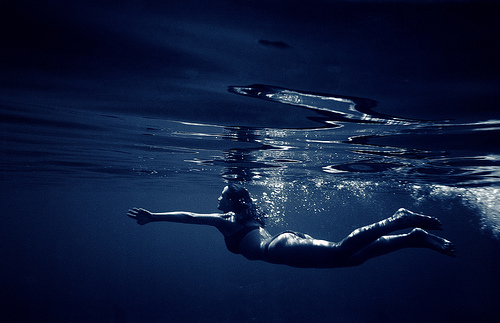
Until recently, underwater photography was a hobby only the very rich or dedicated could pursue. Equipment was bulky, expensive, and learning the craft was a long, laborious process. With the advent of cheap, user-friendly digital cameras, all that has changed. The seas have opened up and now anyone can head down into the depths to try their hand. For those of you interested in starting out, this guide will help you get to grip with the basics.
Basic Terms
The technical side of photography isnít for everyone, and we strive to keep this guide jargon-free. However, there are one or two terms you should be aware of:
- Backscatter – When particles in the water show up in the background of your shots, this is known as backscatter. Avoid it like the plague.
- White balance– A setting that allows your camera to make white appear white in different light levels. Beginners should keep this on auto.
- Ambient light – Another term for natural light.
First, Get Close
Weíve all seen the amateur snorkelling shots friends/relatives have taken off the coast of Tenerife: blurry, dull images that never fail to disappoint. The trouble comes from beginners forgetting theyíre no longer on land, in lovely clean air, and different rules apply. Down here, the mantra is ëget closeí. Light acts differently underwater, and anything more than a couple of feet away is liable to appear as if through fog. Getting near to your subject eliminates backscatter and gives your picture more focus.
Use Macro Mode
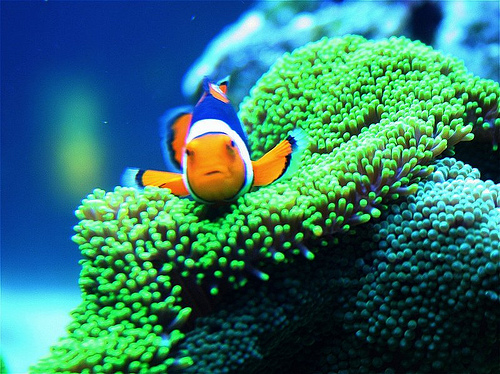
If you have a macro mode, or better still a macro lens, use it. This usually gives you a range of about 2 inches to 2 feet (check your camera manual beforehand), allowing for sharp, clear pictures when used up close. You can play around with different settings as you get better, but for true beginners, macro mode offers a simple way to take quick, high-quality pictures.
Use Your Flash
Unless youíre confident enough to start playing with your cameraís white balance, itís best to keep the flash on (make sure the white balance is set to ëautoí). Using a flash will eliminate the blue saturation effect of water and render your subjects in bright, vibrant colours. It will also improve contrast, remove motion blur, and draw your viewerís eye in by giving your shot a clear focal point.
Shoot Up
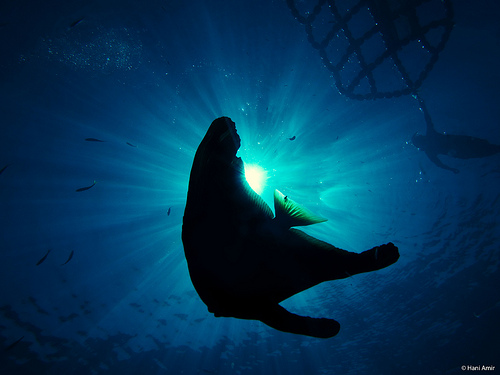
As a rule of thumb, underwater images tend to look better taken from slightly below. The reasons for this are myriad. Downward shots are pretty commonplace, but also restrict your close ups to backgrounds of silt, sand and rock. Better to create a contrast between subject, reef and the vast, open ocean. Those shooting with ambient light also prefer to shoot up, toward their light source, allowing the creation of fantastic, ethereal images. Like any creative rule, this one is made to be broken ñ donít throw away a good shot because you happen to be above your subject! ñ but following it will give your pictures a professional edge.
Be Patient
Many people go in gung-ho, take a handful of dreary shots, become disillusioned and give up. Donít be afraid of messing up. It doesnít matter if your first dive produces a single good photograph from two hundred. Focus on that one good shot, remember what you did right and try and do it again. With a digital camera you can do this as you go along, flattening the painful learning curve to something manageable. Remember it takes time to become good at anything. Just focus on why youíre there: to have fun, try something new and see some amazing sights. Youíll be surprised at how quickly you catch on.
Get into the water and start grabbing some great snaps with last minute deals from FirstChoice.co.uk.