
GoAskErin’s Erin Quigley is a certified teaching professional for Adobe Lightroom and Photoshop, and an award-winning underwater photographer. She has developed specific workflows for the underwater photographer to tackle the most common problems we encounter in our images. Send your question and your problematic underwater image to GoAskErin; she just might use it for her next tutorial!
Q:
Shoot. I just missed getting the whole gill into the picture. Is there a way to add some room to the edge?
A:
You Betcha. Many, many ways. And not all of them pretty. The quickest and easiest technique for your image will be to use Content Aware Fill in Photoshop CS6. It doesn’t work perfectly all the time, but when it does it will blow your frickin’ mind.
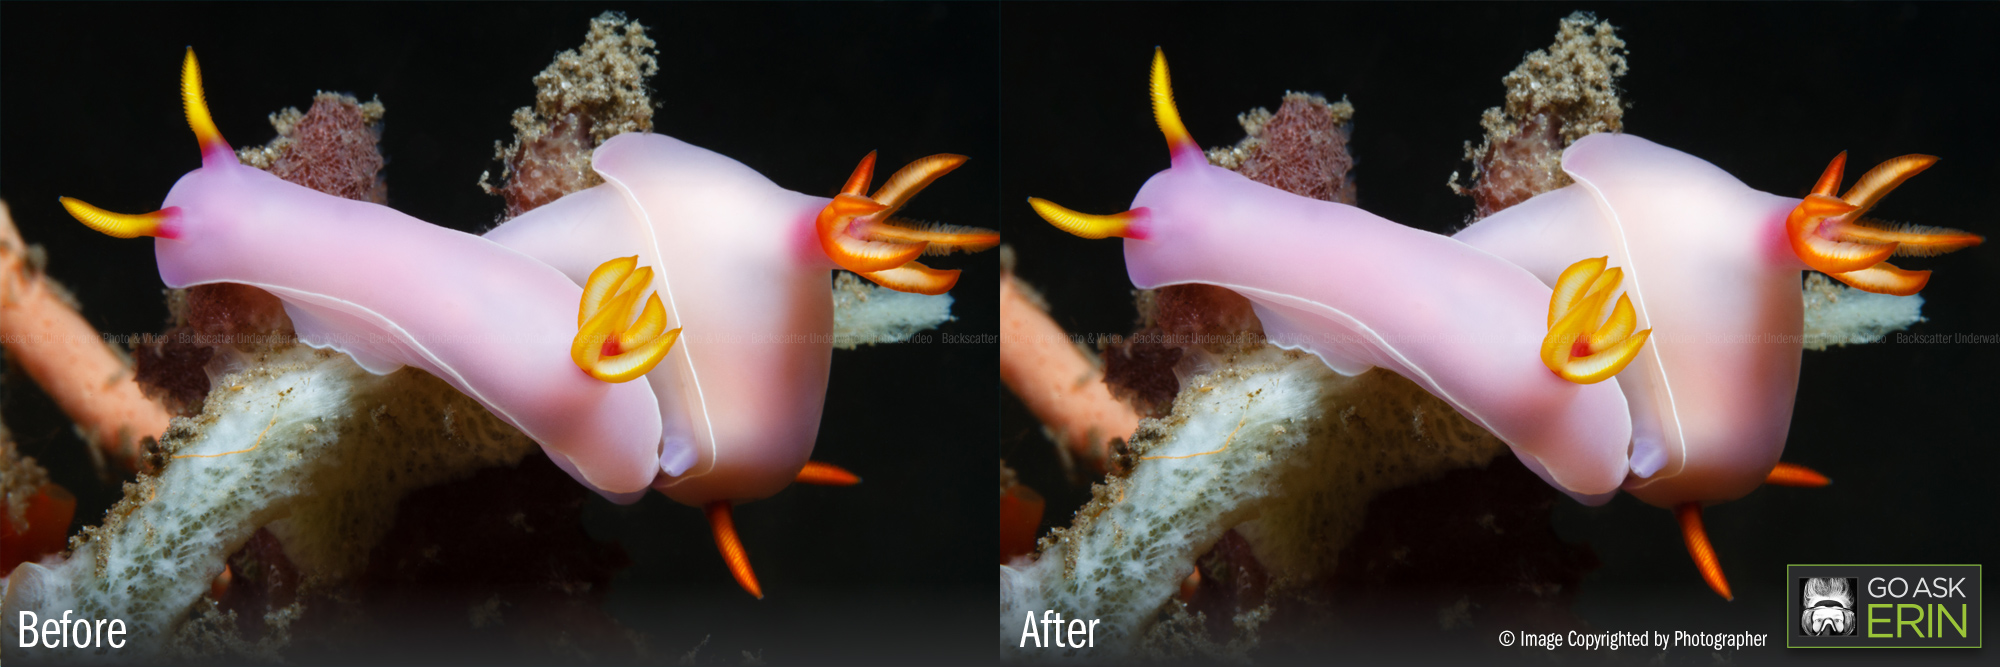
The thing about using Content Aware Fill on the edge of an image is developing a feel for when it will work, and when it’s a waste of your time. On Kami’s image, with the dark, featureless background and relatively small amount of clipped image data, Content Aware Fill is a no-brainer. Selecting even slightly different sizes of edge to add can make a big difference in results, so if you don’t get the result you want the first time, give it another go with a slightly different selection area. It’s common to have to do some secondary patching and cloning as well, so don’t let perfect be the enemy of good. Use all the tools at your disposal to get a kickass result.
View Before and After of the Image (click image to enlarge)
Click the tutorial button below to view the full step by step video:
When purchasing underwater photography equipment like the product mentioned in this article, please support Scuba Diver Life by supporting our retail partner: Backscatter.com
