Having used the original Paralenz camera, I was excited for the opportunity to try their new one, the Paralenz Vaquita. Paralenz has a history of really listening to their users, so I knew it would have some needed improvements.
Paralenz Vaquita vs. the original
The Paralenz Vaquita is a little larger than the original camera, but this is to accommodate the newly added screen—now you can see what you’re trying to shoot. The screen is still small, of course, but large enough for you to see how you have the subject centered (or not) in the frame. This definitely helps reduce instances of thinking you got a great video but later realizing the subject was just out of frame.
Lots of Accessories
Accessories for the Vaquita allow you to set up the camera in just about any way you’d like. If you use a still camera setup, you can easily use the provided attachments to mount the Vaquita to your camera rig. If you’d like to video your entire dive hands-free, you can mount the camera to your mask and turn on the auto-record feature. Want to get the camera closer to your subjects? There’s an extendable pole you can mount it on to do just that. You can even attach some floats, hook the pole and camera to the back of your BCD, and video your entire dive from a third-person perspective as the camera floats above and behind you. As for myself, I just held it in my hand. Before jumping in the water, I tucked the camera up into the wrist of my exposure suit and was able to easily remove it to start videoing whenever I wanted.
Operating the camera


The only real difficulty I had with the camera was turning it on—I know, that sounds major. It always came on, but it sometimes took a couple tries with the button. I think there’s a trick to it that I just don’t know. According to the manual, you do need to click the button back once and then a second time for a longer, 3-second hold. There also seems to be a slight delay before you actually see that it’s coming on (per the text on the screen), so I do think it’s possible I was impatient and ended up turning it back off by accident. This is my biggest complaint about the camera but I solved the issue and reduced frustration by ensuring the camera was on before I hit the water and then, once in the water, turning to the mode I wanted to use and going from there. That worked perfectly.
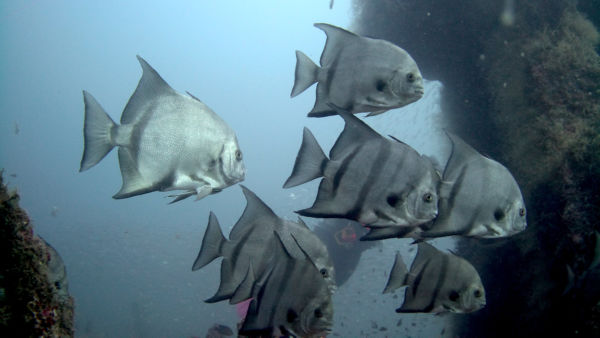
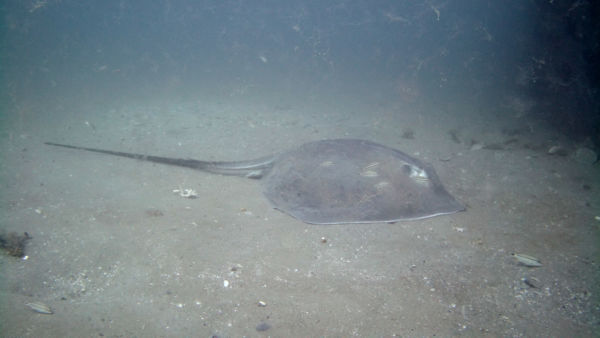
Picture quality is hit or miss, but I expected as much. It is, after all, a video camera with some picture functionality. If you want to get fantastic still photos, this may not be the camera for you. But if you want some fantastic video with some decent photos, Vaquita has got you covered.
Final thoughts
For ease of use, it really doesn’t get much better. I got the camera, charged it up, then went diving. I didn’t even look at the manual first, but I do have experience with their first camera. In any case, I was able to easily figure out the controls and start shooting video within minutes of my dive.
Perusing the manual later, I saw that there are a lot of options available to users, including FPS, resolution, depth-color correction, and even manual white-balance, etc. I chose to use it without changing any settings but there are many options there if you want to tinker with it.
Pros
- Low profile/small size
- Easy point and shoot capability
- Automatic Depth Color Correction (DCC)
- GPS
- Custom modes for manual settings
- Picture and video modes
- Ability to take a picture while videoing
- Auto video-on option
- Viewfinder screen to help you aim
- Video clarity
Cons
- Can be difficult to turn on
- If you take a picture while videoing, a buzzing sound occurs in the video
- Not compatible with accessories for the original Paralenz
- Pictures are not always great
- Doesn’t always focus up close (macro)

