Nowadays there are lots of camera options for the aspiring or seasoned underwater photographer and, unsurprisingly, many divers believe that you can only take amazing underwater photos if you use an expensive, professional-camera setup. Having a pro camera does undoubtedly help, but you can also take sharp, professional-looking underwater photos with a compact camera. As an avid underwater photographer who uses a fantastic compact camera for underwater photography — without any fancy lenses, lights or accessories — here I’ll share a few tips on using one to get the most out of your underwater shots.
Choosing a Camera
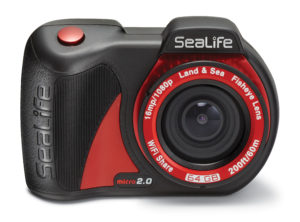
Opting for the newest compact model from your chosen brand, such as the SeaLife Micro 2.0, will ensure that your camera has the latest technology incorporated into its design and functioning. Though it’s tempting to just turn it on and begin shooting, make sure to read the camera’s manual to familiarize yourself with all its settings and functions.
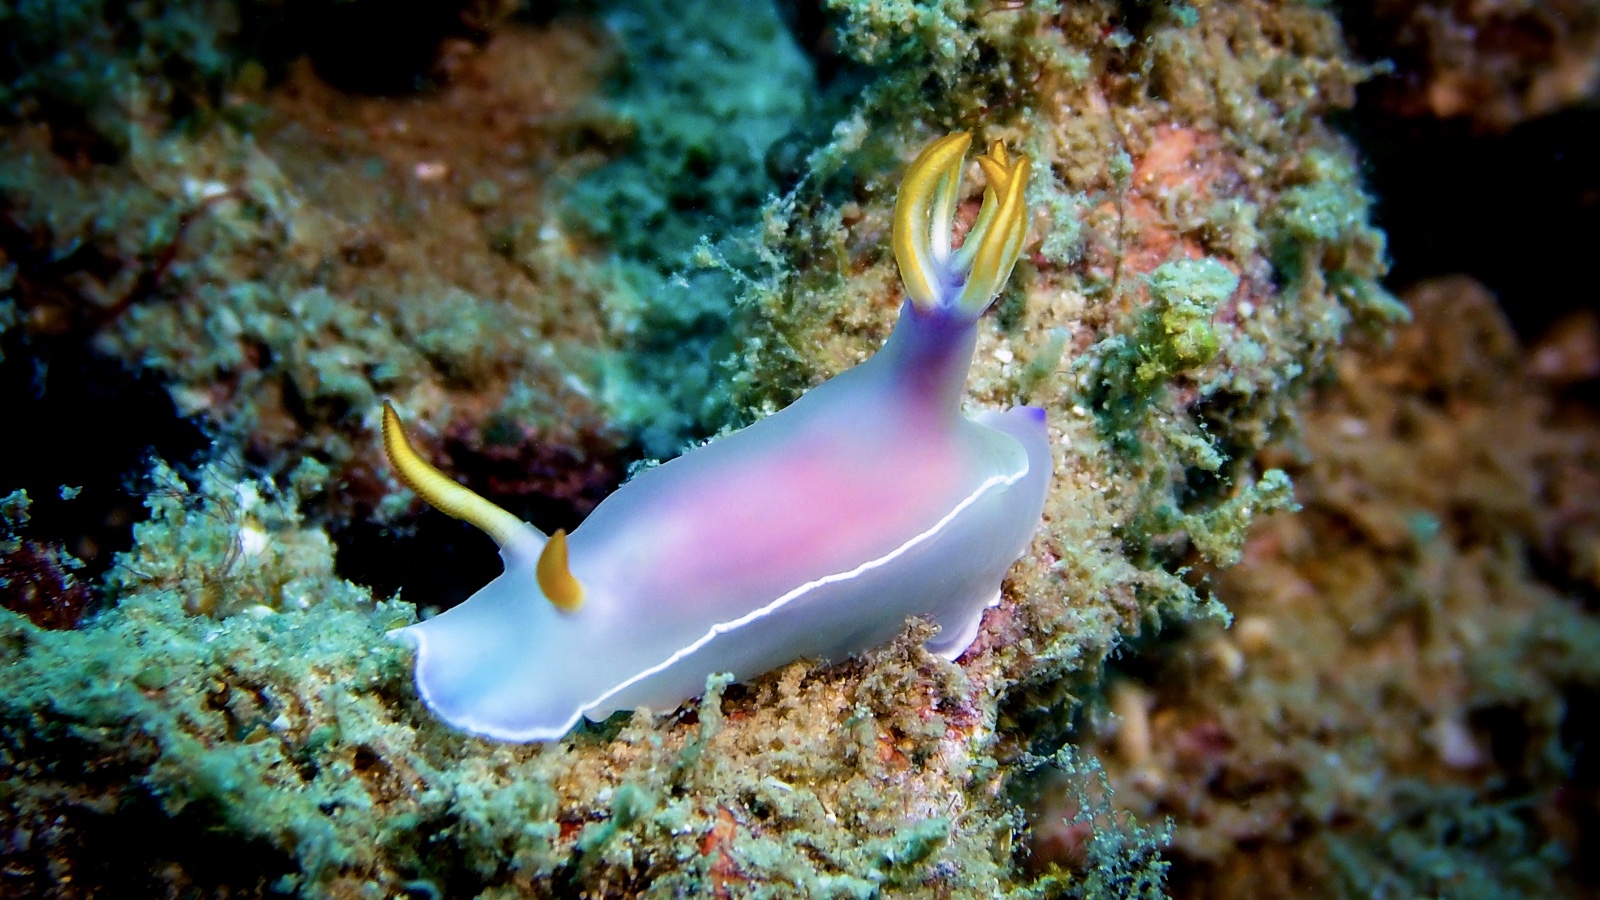
Compacts usually have several “scene modes,” which, for those of us who aren’t particularly savvy when it comes to photography, are priceless. Each mode has its own pre-programmed settings for various types of photos, such as macro, wide-angle, moving subject, low light, etc., and will ultimately help you to snap the best possible shot depending on your subject. Identify your subject first so that you can choose the correct scene mode. Want to take a close-up of a tiny nudibranch? Switch to macro mode to get the tiny details in the photo. Maybe you’d like to snap some schooling fish? Try motion mode, which should reduce motion blur. Colorful coral gardens? Go for wide-angle mode to capture more of the scene in a single photo. Practice using different scene modes to get a real feel for what your camera can do.
Internal Flash Settings
The camera’s internal-flash settings are one of the most important tools for any budding photographer — knowing when to use the flash is key to getting great photos every time. Getting as much natural light as possible into a photo is the best way to capture the natural color that’s visible to the naked eye. This is why, when snapping wide-angle shots without any external strobe lights, you are encouraged to turn off your camera’s flash and attempt to use the sun’s natural light.
Furthermore, the internal-flash feature should not be used for wide-angle because you’ll only capture dusty backscatter in your photo, which will ruin it. Only use flash when shooting close-up, such as for macro subjects. Because the distance between the lens and the subject is as short as it can be, there is less space for tiny debris in the water to get in the way of your photo.
Composition and Technique

Next, taking a pro-worthy shot isn’t all down to the camera; it requires thought on the photographer’s part, too. Composition is just as important as settings and environmental conditions. Using the rule of thirds will allow you to take photos that are most pleasing to the eye. To make this easier, your camera will most likely have an optional grid that shows on your camera’s display. Before taking a photo, put effort into positioning your subject within the photo by using the grid. Using this rule is, of course, optional, and ultimately your photos should be pleasing to your own eye. Just be sure to compose your image first instead of snapping away without thinking beforehand. For inspiration, check out photos in magazines and online to learn which photos you like. Pay attention to composition patterns and subject positions that you can later replicate.
Focus Your Lens
Another important consideration is focus. Many pro-level photos boast a sharp subject with a blurred background, which adds depth and drama to the image. Compact cameras can be used to the same effect — it may take some practice, but it’s completely doable. Although your compact camera probably has an automatic-focus function, you should also be able to focus the lens yourself. To do so, most compact cameras require you to take your time when focusing on your subject, and to gently tap the shoot button before pressing it down fully to take the photo. This should ensure that your subject and foreground area is sharp while the background is slightly blurred.
Post Production
Finally, applying these tips when you’re shooting photos is only half the battle. Skillfully editing your pictures is just as important as skillfully taking them. There are many simple photo-editing programs that you can download or use online in order to modify your underwater photos. Most photographers use Photoshop. However that can often be too complicated for newbie photographers or those who simply aren’t interested in spending hours learning the software. Lightroom is a fantastic alternative to Photoshop, and is much easier to use.
Following these tips should help you take better photos even with a tiny compact camera. Read the manual; pay attention to composition; and learn how to use your camera’s scene modes, and your compact-camera images will reflect your diligence.